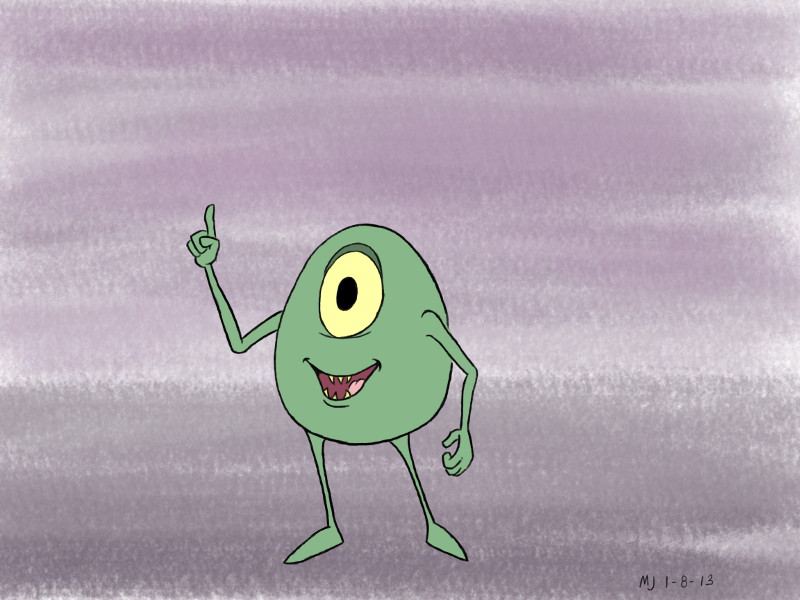
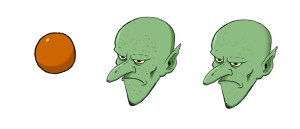
This post is actually kind of momentous though it may not seem like much. First, the not so important part: I did some testing in Flash to see how I might be able to get decent line quality using Flash as a frame-by-frame animation tool. It’s okay, I guess, though the underlying drawing is kind of sucky. On the second head, I experimented with using blurs on some elements.
But the cool part is the image below. For this one, I was testing the idea of inking and painting in Gimp over a camera shot of a penciled image (the same image in this post, also not a great underlying drawing but good enough for test purposes). I really like both how this turned out and the process. My next step is to try it on a short animated sequence to see if line quality holds up under those circumstances. If that works, then I think I’ve finally found my pipe line for hand-drawn animation. 🙂


Are you using the GAP plug-in for this? If I have a background in GIMP, and I want to import an image sequence for a character animation I’ve made, is there an easier way of getting the background visible on every layer without having to use the magic wand on every single frame in order to delete the white space surrounding the character?
Hi, Brian.
Although I played with the GAP plug-in several years ago, I haven’t used it since then. The work flow that I’m exploring in this case is 1) work up the character animation traditionally with paper and pencil, 2) use a camera mounted on a document copy stand to quickly get the pencils onto my computer for timing tests in the program Pencil, 3) once the timing is good, use Gimp for inking and painting, and 4) composite everything in the Blender Video Sequence Editor. For step 3, I ink and paint on layers above the original pencils and then omit the pencil layer when I output the finished “cel” frame. So, in my case, I never have to face your issue of getting rid of white space.
If your frames are finished (inked and painted) then the only other thing I can think of is maybe the color-to-alpha approach, but I still don’t think it would save you from having to deal with each frame/layer individually. On the other hand, if your frames are tight pencils, maybe just setting each layer’s blend mode to multiply might work, depending on what you’re trying to blend it with. Sorry I can’t be of more help.
That work flow sounds perfect! Thanks for the reply, and my frames are actually far from finished (whew!). Now all I need is a copy stand.
Erm, it seems I’ve run into a new problem. What’s the proper way to color in GIMP? I try using the paint bucket and get this nasty white halo around the shape’s border. Every tutorial I’ve seen uses multiple layers and layer modes, but only for drawings (can’t find any tutorials for GIMP as an animation tool, except for cheap .gifs).
Well, for Gimp 2.6 there was this really cool flatting plug-in that David Revoy talks about at http://www.davidrevoy.com/?article32/comics-inking-and-coloring-with-gimp-painter but it’s apparently not 100% compatible with 2.8. I’m a coder by day and I’m looking into possibly updating that plug-in for 2.8. (Somebody already did it once, but the link I found is not working at the moment.)
Until then (or until somebody else does it for me 🙂 ), I do flats this way: first, I do my inking on a layer above the pencils. Second, on a layer between the ink and pencil layers, I use a small brush to close any gaps. Then, on a layer below that “gap closing” layer, I use the fuzzy selection tool to select regions and I grow the selection a little (usually about 4 or 5 pixels in my case, since I’m working at a fairly large resolution at this stage). This is the step that eliminates the halo problem. It’s crucial to have your wand tool set to “Sample merged” or it won’t properly select the areas inside each inked region. Furthermore, the only visible layers at this stage are the ink, gap filler, and flat layers (this last being the one I’m currently working on).
This approach is a tad tedious but tolerable for the testing stage that I’m in at the moment. When I get to the point of doing production work, though, I’m really going to want that flatting plug-in. If nobody else has updated it by then, I’ll dive in and do it myself because it’s a huge time saver.